Get a professional domain name.
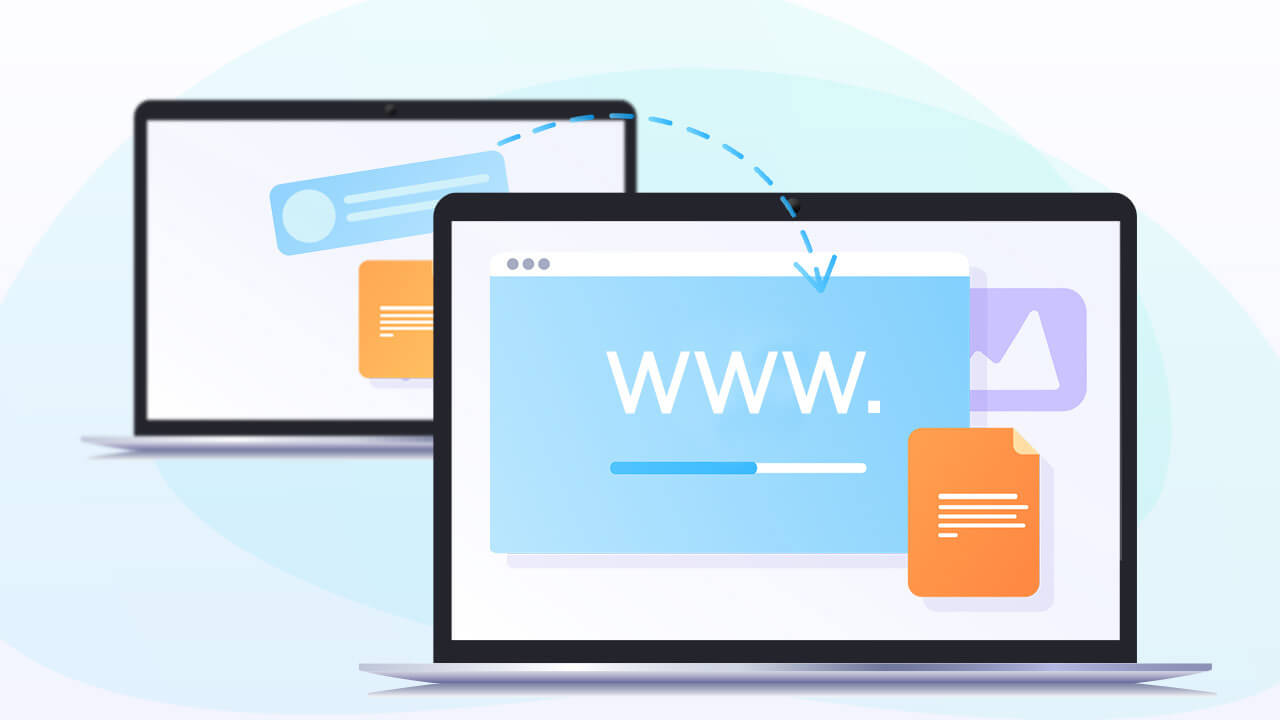
Transfer your domain from your current provider.
Renew an exisiting domain name.
Affordable, reliable shared hosting for your website.
Easily launch a WordPress site with our hosting.
Scalable, fast cloud hosting for your website.
Maximize support with our comprehensive knowledge base
Get the support you need quickly and efficiently with our ticket system.
Chat with our knowledgeable support team via live chat for efficient assistance
Find the answers you need quickly and easily with our comprehensive FAQ
Stay informed on server status and performance with real-time updates.
Stay ahead in the game with our blog's valuable insights and how-to guides.
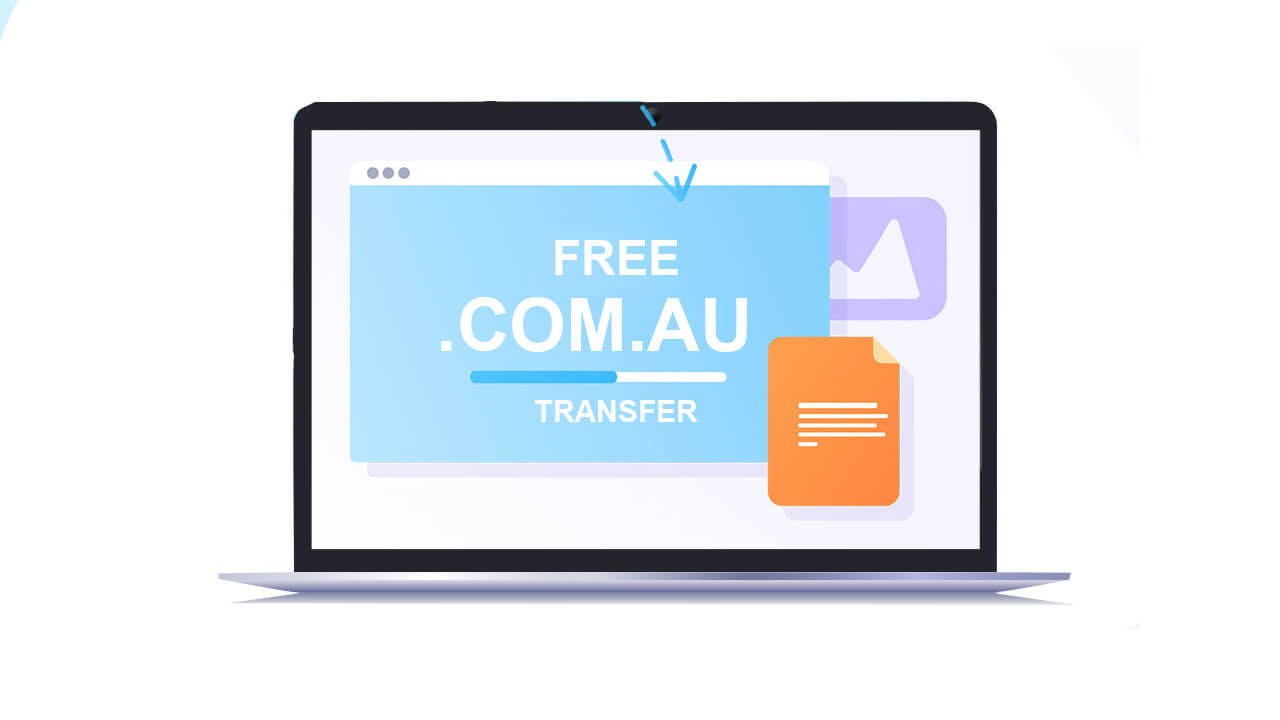
No stress website transfer. We handle it all at no cost to you.
Free .com.au Domain Transfers - Effortlessly switch to us with ease.
30 day Money Back Guarantee